Tips and Techniques to Ensure a Great Green Screen Video Production
As mentioned in our article on video production, a super-effective and flexible video production tool is green screen technology. For example, you shoot video of the host of a program against a special green or blue background that can be removed or “keyed out” in post-production and replaced with the background or backgrounds of choice. With this technique, the host can appear in multiple locations without the need for travel – thus saving thousands of dollars in production costs.
Probably the earliest and most common use of green screen or “chroma key” technology is TV weather reports – where meteorologists stand in front CGI backgrounds gesturing wildly at the latest weather patterns.
In the past, the chroma key or green screen technology tended to often look cheesy and rough around the edges, but with modern keying technology, equipment and techniques it can look very crisp and incredibly realistic – adding amazing dimensions and flexibility to your project. The kicker is that it can now be accomplished within a modest budget.
Basic Tips and Techniques
Although the results can be fantastic, there are a few things that are critical to a green screen shoot that can truly make or break the production:
The Green Screen or Wall
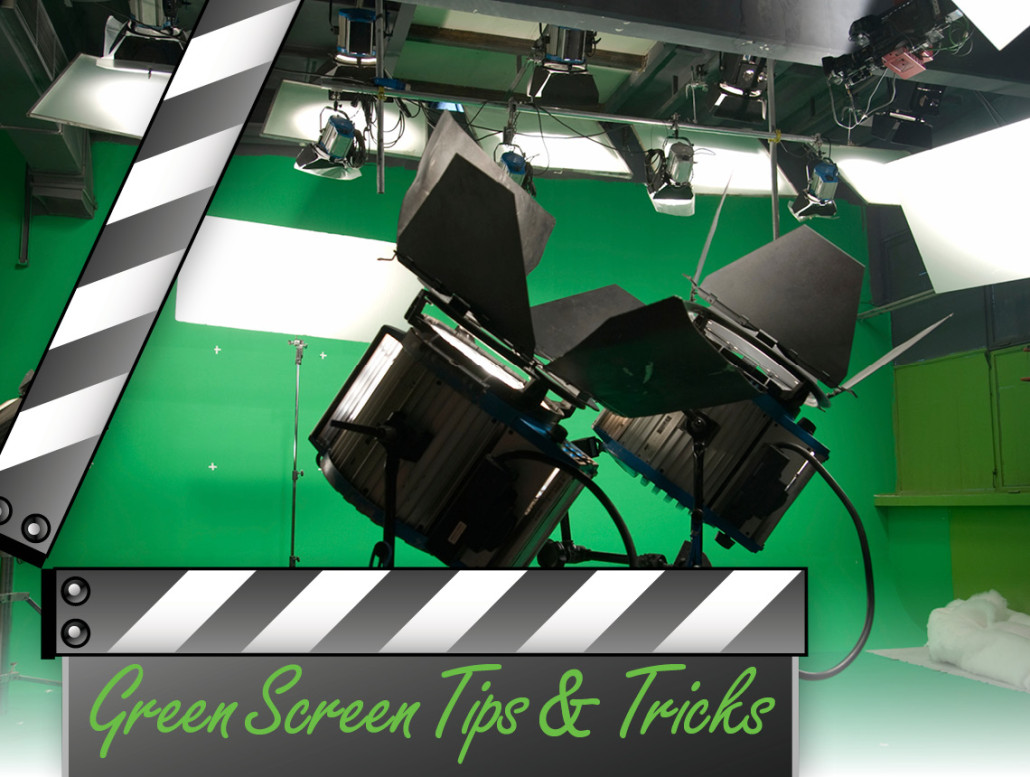
Most green screen video shoots utilize a wall or multiple walls painted with a special bright green reflective paint developed specifically for the purpose. It’s worth repeating: this isn’t Home Depot or Dunn & Edwards paint, but special stuff that’s formulated to provide the high luminance values and color saturation required for keying effects. It’s also generally about 80 to 100 bucks per gallon.
Larger, more elaborate green screen studios often have green floors, as well as walls with curved corners for head-to-toe or wide, seamless shots. That’s a lot of expensive green paint. Portable green screens with special green cloth that stretched over a frame are another option for location shoots – say at a convention or event where you wish to shoot quick customer testimonials and select industry-appropriate backgrounds for your subjects later in post-production.
The main thing to remember is that whatever type of green screen is used, it needs to be smooth, even and properly lit, which brings us to our next topic…
Lighting
Equally important as the green wall or screen itself it the lighting applied to it. It needs to be sufficient, even and smooth across the entire green wall or screen. No shadows or dark areas. No area should be brighter or blown out with excessive light. You should see nothing but that weird green – nice and consistent. To best dial-in the light on the wall or screen, studios use dedicated lighting systems just for the green screens. The on-camera talent is then lit separately – as humans require different types of lights and lighting.
Clothing
The idea of using an ultra-bright green as the color to “key out” and replace stems from the fact that there are very few hues in the natural world that come close to it. It’s also about as far away from human flesh tones as a color can get, so it’s a good color to use. That said, if an actor wears a green shirt in front of a green screen it can key out or partially key out…even if it’s a much different shade of green.
This means the green shirt would disappear or partially disappear – and would be replaced by whatever background that is being used. Not good, to say the least.
Shadows
If the on-camera talent or anything else in the shot casts a shadow on the green screen, you also have trouble. The shadow technically changes the color of that part of the green screen or wall. This means the area with shadows won’t key out properly or will be very difficult to key out properly. The remedy? Move the on-camera talent farther away from the wall to eliminate the shadow. Actually, it’s best to have the talent as far from the green wall a reasonably possible to eliminate the next potential problem…
Spill
In addition to eliminating shadows, keeping the on-camera talent a good 8-10 feet or more from the green wall eliminates “spill”, or unwanted reflected green light from the wall or screen. That bright green wall reflects green like crazy and that wild green light can get everywhere. If on-camera talent is too close, expect a green hue on the tops of shoulders, or even on the sides of faces. It can tint blonde or light hair green. If a person is wearing glasses, the sides of the frames can catch and reflect a bit of green and also cause problems.
Incorporating Props
If you are going for a realistic location look, there are a couple of easy and cool ways to enhance the shot. Let’s say the planned background shot is live footage of a beach or resort shot from a balcony. The on-camera talent shot in front of the green screen will be laid over that footage. To increase realism, include an actual table, chair, plant or other prop in the talent’s green screen shot. That way the foreground is completely “real” and only the background is “faked”. Add a fan blowing lightly off screen to simulate a bit of outdoor breeze through the set and you have nailed it – the VAST majority of viewers will think it was shot on location.
That’s about it for this installment. In today’s marketing world, “content is king” and green screen productions are a great way to add interesting, compelling content to your online presence. Additionally, if you want better communication with your customers, investors, regulators, vendors and even the press, let us show you how green screen productions can help you achieve these goals in a cost effective manner. Just call Total Spectrum at 714.637.3600.


